
Factory Structure Manufacturing Process – Step-by-Step with QC Integration
Stage 1: Raw Material Delivery & Incoming Quality Check (IQC)
Upon arrival at the factory, raw materials such as steel angles, channels, pipes, and sheets are offloaded in a designated material storage yard. These materials undergo an Incoming Quality Control (IQC) process to ensure they meet company standards. The inspection includes verification of material grade certification, dimensional accuracy, and surface condition, checking for any rust, dents, or bends. Manufacturer Test Certificates (MTCs) are also reviewed. Only materials that pass this quality check are accepted for further processing, while those that fail are either returned to the supplier or quarantined for further evaluation.
Key Quality Activities:
- Use of vernier calipers, micrometers, and ultrasonic thickness gauges.
- Documentation of IQC in logs or ERP.
- Tagging of inspected material with “Approved” or “Rejected” labels.
Outcome:
Approved material is stored in the raw material area or moved directly to the production floor for component fabrication.


Stage 2: Fabrication of Baby Components & In-line QC
Raw materials are issued to the fabrication shop through the internal material issue system, which includes tracking tags for traceability. In the fabrication shop, workers perform various processes such as cutting, drilling, and notching to convert the raw materials into smaller components, commonly referred to as “baby components” like brackets, arms, and supports. Each fabrication process—whether cutting, bending, or drilling—is monitored with its own in-line quality control (QC) to ensure accuracy and compliance with standards.
Key Quality Activities:
- Dimensional verification of each component.
- Tolerance checks (within specified engineering drawings).
- Burr removal, edge finishing.
- Inspection before issuing to the next shop.
Outcome:
- Baby components are tagged and bundled.
- Before movement to the Welding Shop, a Stage 2 QC Inspection is mandatory. Any defective part is either reworked or scrapped.
Stage 3: Welding & Final Assembly QC
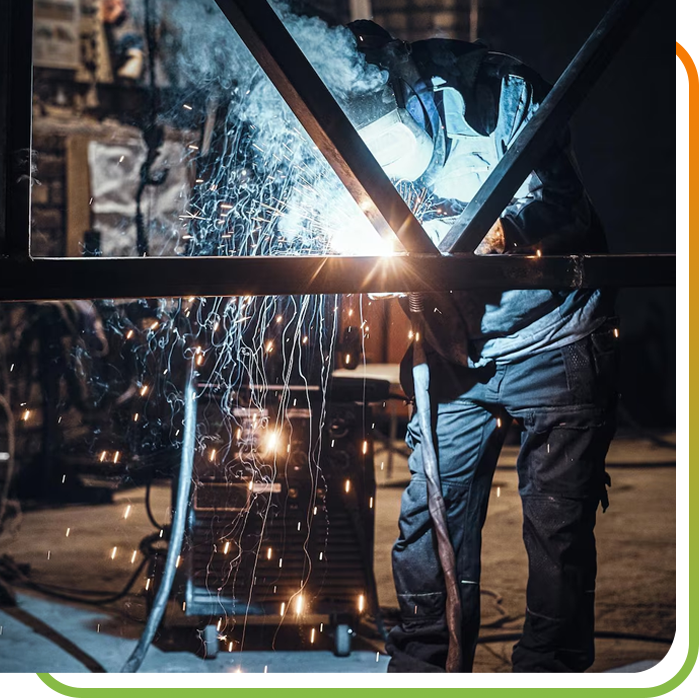
Approved components are transferred to the Welding Shop for assembly. Using MIG, TIG, or Arc welding—depending on the design specifications—assemblers and welders fabricate the complete product structure. All welding operations are carried out in accordance with the Welding Procedure Specification (WPS). To ensure proper alignment and maintain dimensional consistency, jigs and fixtures are used throughout the welding process.
Key Quality Activities:
- Visual inspection of weld seams (penetration, cracks, porosity).
- Non-destructive tests (NDT) like Dye Penetrant or Magnetic Particle Test (if applicable).
- Dimensional check of full assembly.
- Final QC at Stage 3 ensures product matches design specifications before surface treatment.
Outcome:
- Passed assemblies are cleared for surface finishing (Hot Dip Galvanizing).
- Clear identification and traceability maintained.
Stage 4: Hot Dip Galvanizing
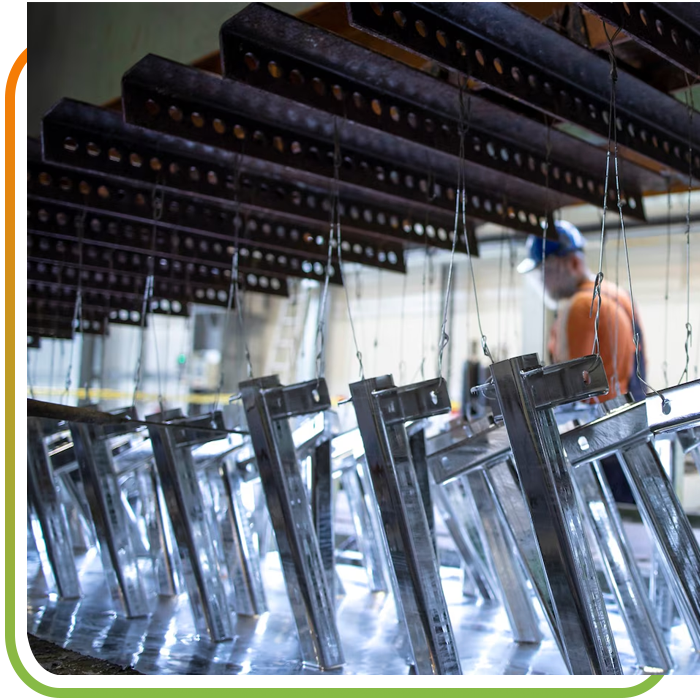
Finished products are transported to the Galvanizing Plant using rail or forklift. Before galvanizing, the structures undergo a pre-treatment process that includes degreasing, pickling, and fluxing to ensure the metal surface is thoroughly cleaned. After pre-treatment, the structures are dipped into a molten zinc bath at approximately 450°C, resulting in a uniform and corrosion-resistant coating.
Objective:
- Achieve minimum 80 microns zinc coating for rust prevention and outdoor durability.
Key Quality Activities:
- Dipping times and bath temperatures monitored via digital systems.
- Coating thickness measured using digital coating thickness meters (Elcometer or equivalent).
- Post-galvanizing QC ensures:
- Smooth surface (no lumps, spikes).
- Uniformity of coating.
- No bare patches or burn marks.
Outcome:
- Galvanized structures are air-cooled, inspected, and moved to the assembly area.
Stage 5: Assembly, Marking, Painting, and Bundling
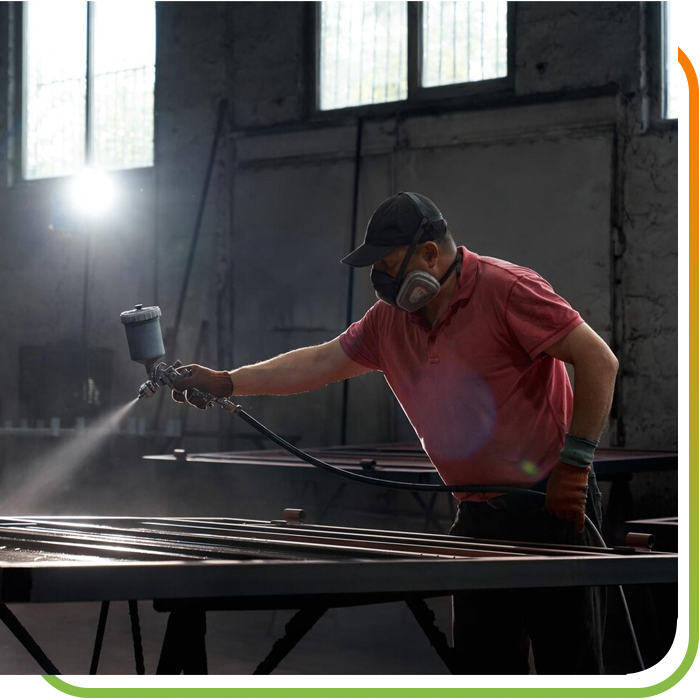
Galvanized items are moved to the assembly and finishing floor for final processing. Each part is clearly identified using stamping or stickers for traceability. Components are then painted or color-coded according to customer specifications or the in-house color scheme. Finally, the parts are segregated into bundles based on site location, size, or drawing configuration to ensure organized dispatch and easy installation at the destination.
Key Quality Activities:
- Re-verification of part numbers and quantities.
- Ensuring marking/labeling is legible and weather-resistant.
- Ensuring paint adheres well to the galvanized surface (if required).
Outcome:
- All finished bundles are stored with clear identification tags and documents for dispatch preparation.

Stage 6: Final PDI (Pre-Dispatch Inspection)
Before shipping, a Final Pre-Dispatch Inspection (PDI) is carried out to ensure product quality and accuracy. The PDI team checks the physical condition of the products to confirm there is no damage from handling. They also verify that all items are correctly tagged or marked, and that the quantity matches the delivery note. Packing integrity is assessed, including strapping, bundling, and stacking. Additionally, all items are cross-verified against dispatch documents, engineering drawings, and customer specifications to ensure full compliance before dispatch.
Key Quality Activities:
- Final PDI report signed by QA head or assigned inspector.
- Any non-conformance results in a hold and rectification.
- Final clearance given before vehicle loading.
Outcome:
- Cleared bundles are loaded onto trucks/trailers with proper lashing and tarpaulin.
- Handover with documentation to logistics or the client.